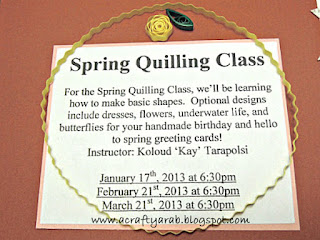
I've been quilling up a storm lately, coming up with some fun earring designs for Ventures, the b&m store I sell at in Pike Place Market. I needed to take a break from the earrings and decided to try my hand at a butterfly design. While I was creating the butterfly, I decided to stop along the way and take notes and photos so I can show you how to make your own butterfly.
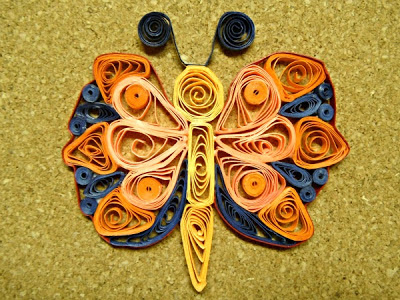
Here is the final product:
 |
| A Crafty Arab Quilled Butterfly Tutorial |
First I decided on the colors. I really wanted to keep it simple, so I just picked blue, orange and peach as my three colors for the wings and yellow for the body.
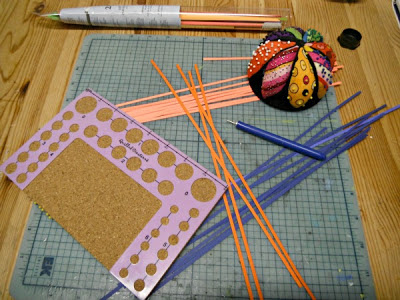
I've gathered up my usual supplies for quilling: scissors, quilling strips, circle board, pins, glue, quilling tool:
 |
| A Crafty Arab Quilled Butterfly Tutorial |
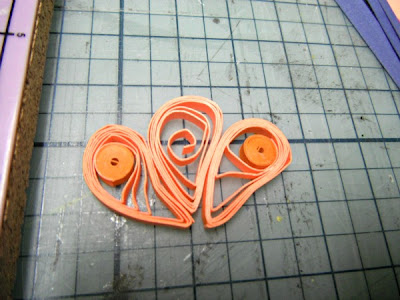
So the first thing I did was create the three main pieces for the wing:
 |
| A Crafty Arab Quilled Butterfly Tutorial |
Here is a better close up of them:
 |
| A Crafty Arab Quilled Butterfly Tutorial |
Then I just started randomly adding circles, curls, and other shapes around these main pieces:
 |
| A Crafty Arab Quilled Butterfly Tutorial |
I have to admit, this is the first time I've done a piece this complicated and one that required so many pins!
 |
| A Crafty Arab Quilled Butterfly Tutorial |
After the pieces were all placed where they needed to be, I started putting glue points between where any two pieces of paper touched. I then went around the both wings with a maroon strip to keep everything together:
 |
| A Crafty Arab Quilled Butterfly Tutorial |
You'll need to walk away from this project for a bit to let everything dry:
 |
| A Crafty Arab Quilled Butterfly Tutorial |
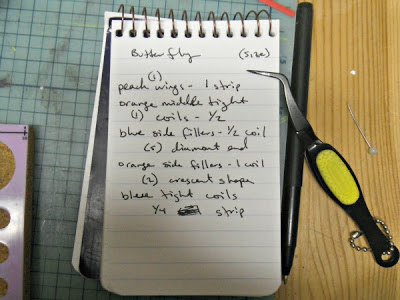
And then you can take out the pins and you have a beautiful butterfly in only four short hours. :) Don't forget to take notes along the way, just in case you'd like to make another!
 |
| A Crafty Arab Quilled Butterfly Tutorial |


